Installation
Install this authentication provider like any other DNN extension.
Upload the install by package by navigating to Persona Bar > Settings > Extensions > Install Extension
Once the extension is installed, activate your license and enable the authentication provider. Navigate to Persona Bar > Settings > Magic Link
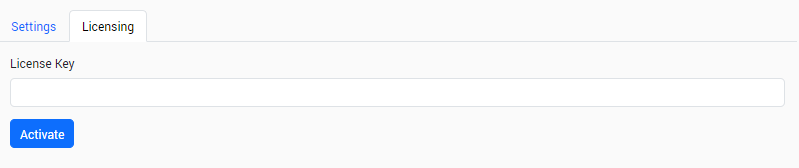
In the Licensing tab, enter your licence key and click Activate.
Once your license is activated, make sure to Enable Magic Link Authentication and click Save.
Once enabled, on your site login page you should see 2 tabs, as shown.
If you want the Magic Link tab to be selected by default, navigate to Persona Bar > Settings > Security and set the Default Authentication Provider to MagicLink, as shown.
Should you wish to only use Magic Link authentication, you can disable Default Authentication, which will remove the ‘Standard’ and ‘Magic Link’ tabs from your login page.
- To do this, navigate to: Persona Bar > Settings > Extensions > Installed Extensions
- In the ‘showing’ dropdown, select Authentication Systems.
- Then click on the pencil icon next to Default Authentication.
- Navigate to the Site Settings tab, and uncheck the Enabled box.


Customise Email
You can customise the email subject line and body in the Settings tab. In the Email Body, make sure you don’t accidentally remove the {magiclink} token, as this will be replaced with the actual login link for the user.
Automatically Purge Expired Magic Links
Magic links are deleted immediately after successful login. In some cases a user may request a magic link and not use it, which leaves an expired login link entry in the database.
We have provided a scheduled task to purge expired login links such that they don’t take up unneccesary space. Simply enable it in the Settings tab.
How to get help
For any support related to this DNN module, please open a support ticket.